The first step to setting up your lamp is to get a family ID. If you already have one, you can skip this step.
Your Family ID controls what lamps are in your family and if they can communicate with each other. Every lamp in your family must have the same Family ID.
Apply for a new Family IDNext you need to pick your colour. Family Lamps can display the full range of RGB so select the colour you would like to be known as.
Make sure to take note of this value in the box excluding the '#', you will need this when setting up your lamp.
Now connect your lamp to a USB power source and wait for it to startup. As it begins its power sequence, it will turn green. It will then begin flashing as it checks for WiFi networks.
Shortly after, your lamp will turn blue and will be in setup mode.
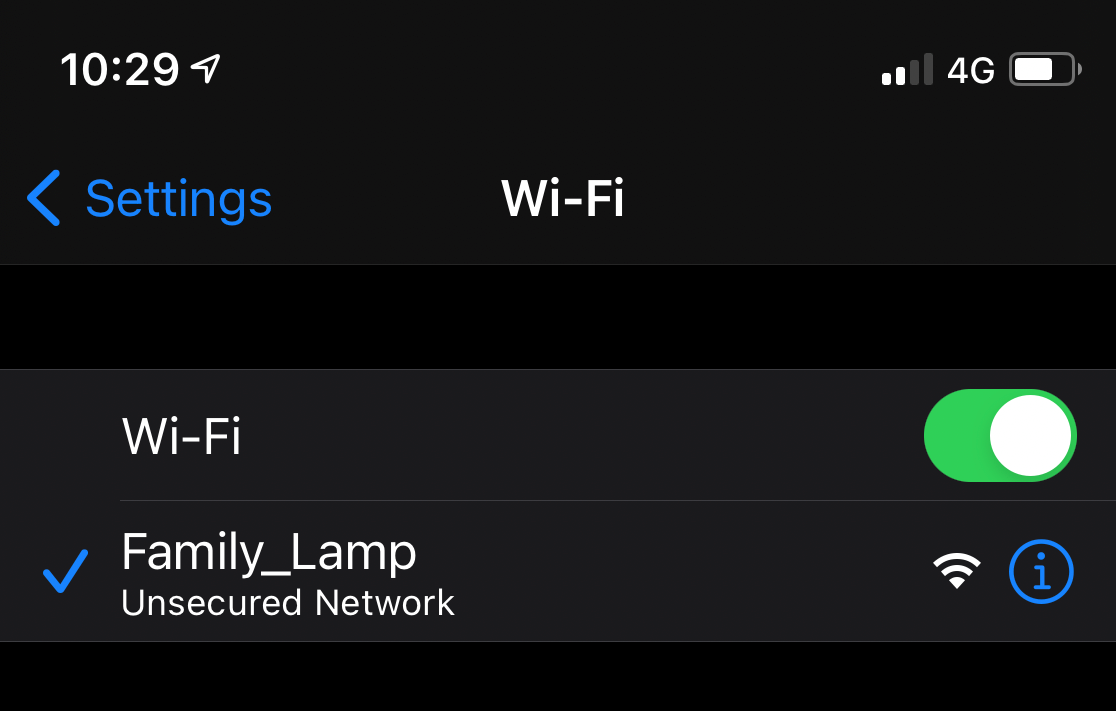
Step 4: Connect to lamp WiFiUsing your phone, go to your WiFi settings and you should now see a new network called "Family_Lamp". Press this and wait for a window to pop-up. If you've been waiting for over 30 seconds or don't wish to wait for the pop-up, go to google and in the URL bar at the top, type "192.168.4.1". An additional window may eventually pop-up as the portal is displayed, please either fill the details in via the pop-up or select "Use without internet". |
|
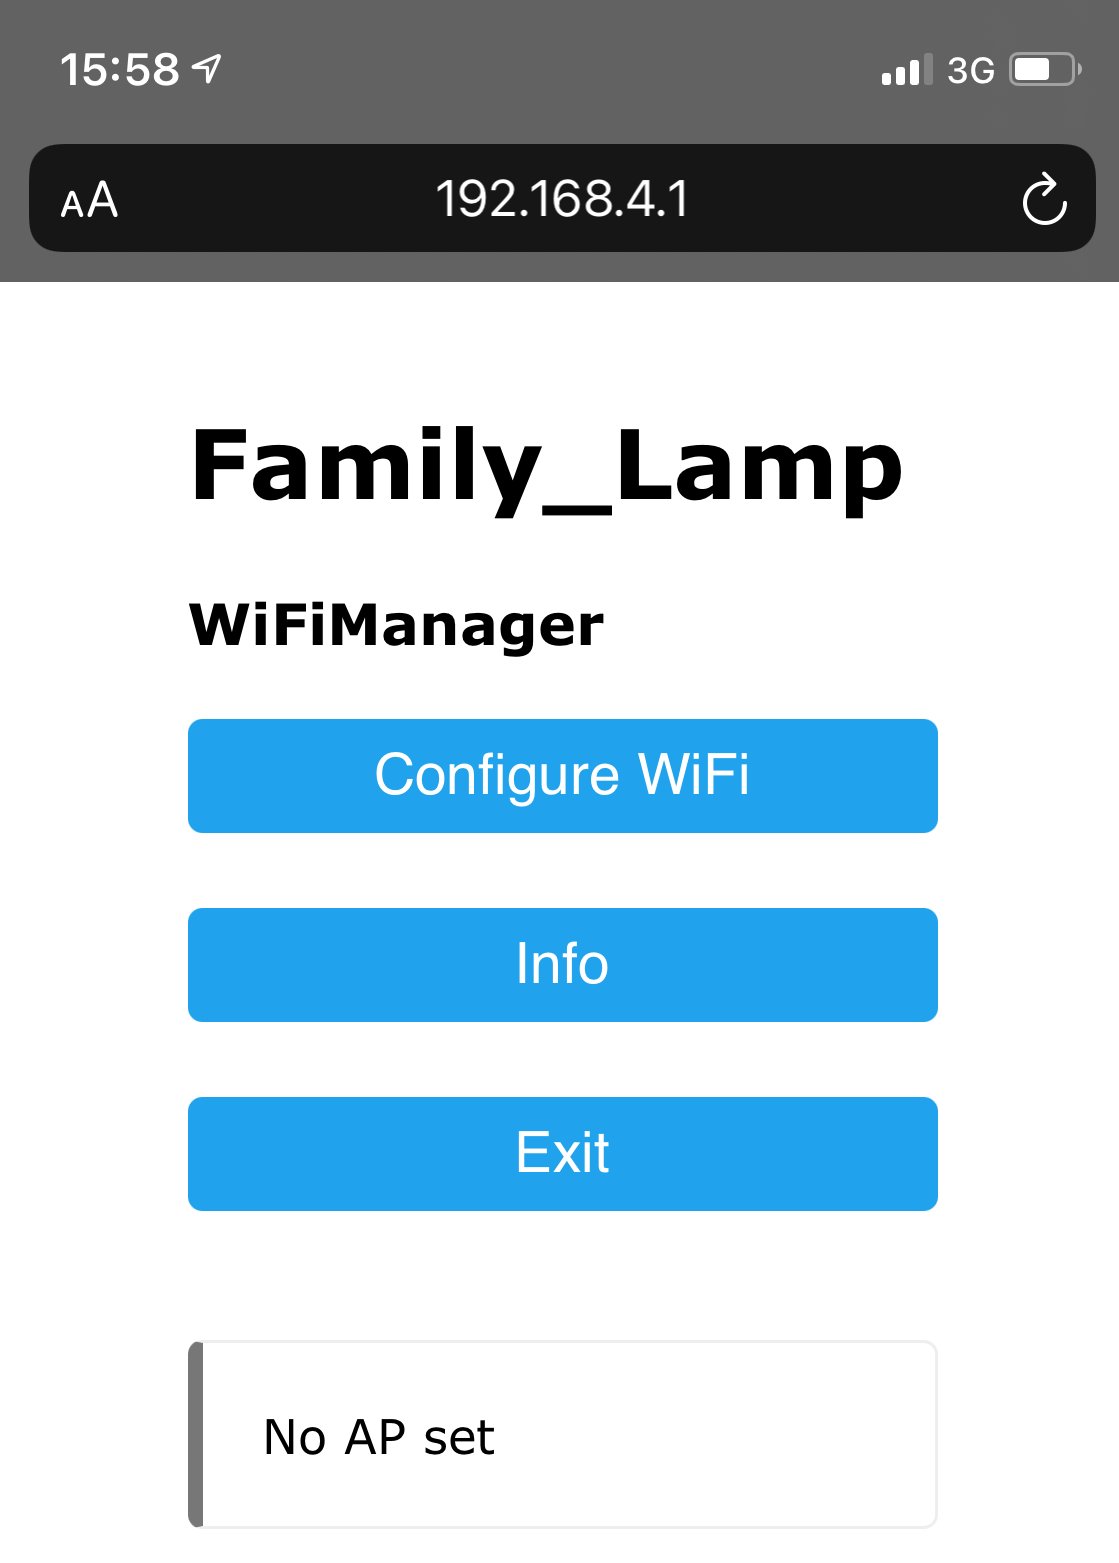
Step 5: Configuration portalYou should now see a menu with 3 buttons. Click "Configure WiFi" If you have previously configured for WiFi then "No AP set" will be replaced with the WiFi network name. If you believe your wifi is down, simply switch your lamp off by unplugging it and once your WiFI is re-established, plug it in again and your lamp will automatically connect. |
|
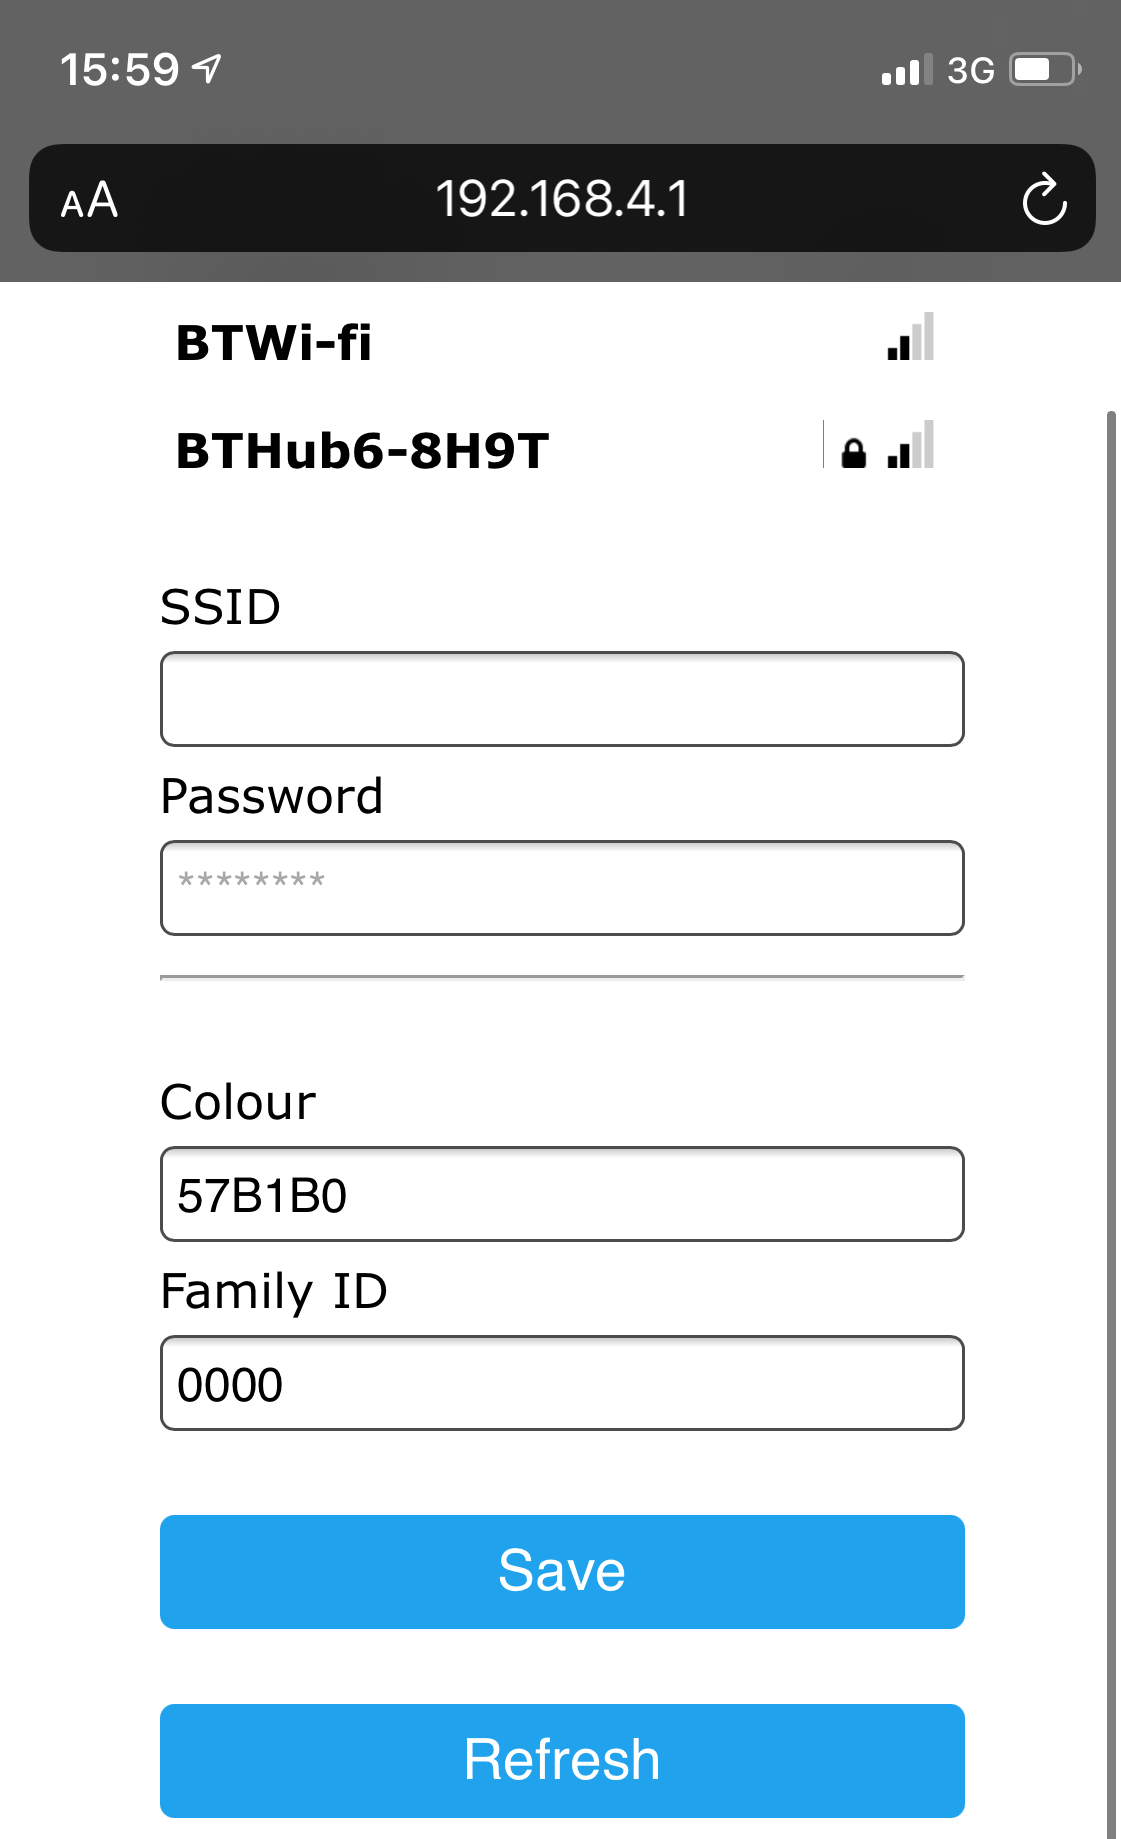
Step 6: Configure WiFi & settingsYou should now see a list of WiFi networks, click the one you wish to connect to and enter your password. If your WiFi network doesn't show up, hit the refresh button until it does. Below this, enter the colour you would like to be from step 2 in the same format as shown, without the '#'. While your WiFi password is case-sensitive, 'Colour' and 'Family ID' are case-insensitive. Remember to enter your colour code into the lamp as it does not copy from the website. Once you have entered this, enter your corresponding Family ID. If you don't know it ask your family for the code or create a new one in Step 1. Once you've done that, hit "Save" and wait either for the pop-up to disappear or for your lamp to change colour. |
|
Once the pop-up window has disappeared, check that your lamp has turned your desired colour.
If your lamp is now flashing red, then you have made a misconfiguration and will have to repeat the process above.
Otherwise, you're all set up. The only thing left to do now is tap the top of your lamp and let everyone know you're ready to go!
If your lamp is any other colour and stays for more than 10 seconds, then this is your defined colour.
If it changes then this means someone is letting you know they're there.
| Green - Lamp starting up | |
| Flashing Green - Attempting to connect to WiFi | |
| Blue - Startup required, visit setup page | |
| White - Sending signal to the family | |
| Red - Unable to send signal to the family due to WiFi disconnect | |
| Flashing Red - Invalid configuration, please try again |